Using Push To Connect Air Fittings
5/12/2014
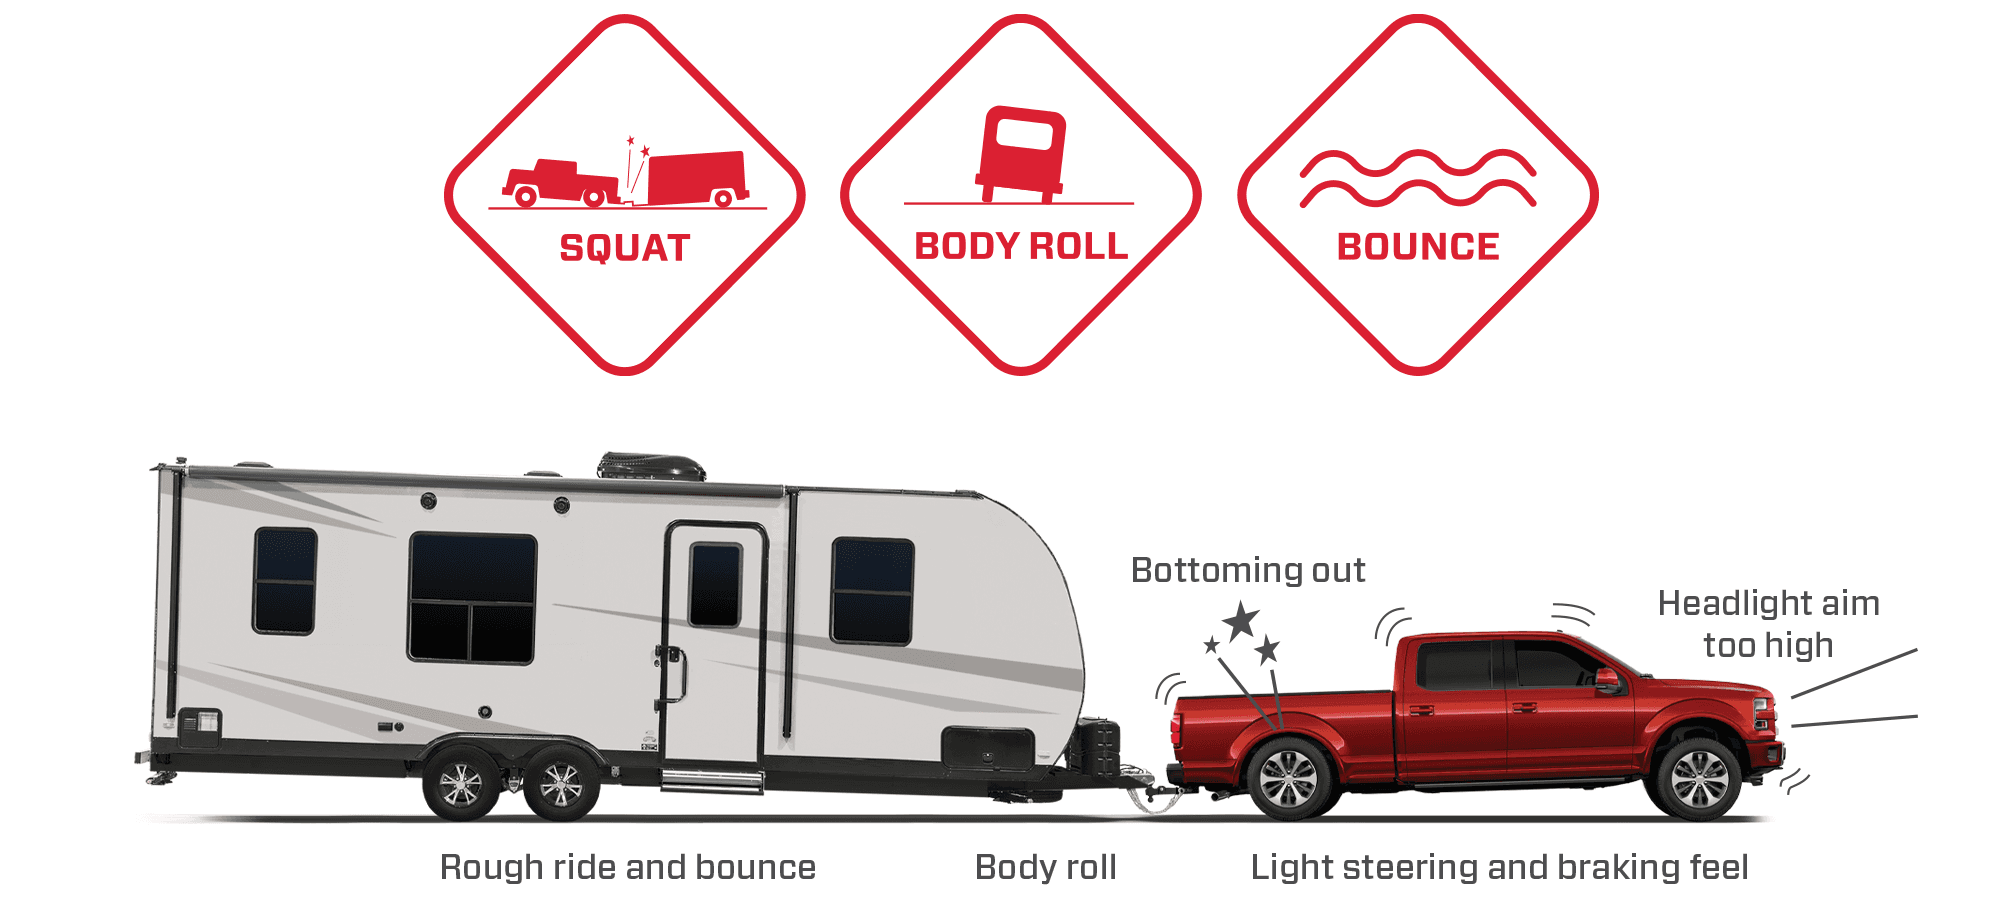
There are several components that make up a complete air ride suspension system: air springs, air line, valves and fittings. Air fittings are the components that connect one item to another (ex. air line to air spring, air line to air line, air line to compressor, etc.). As a leader in air suspension innovation, Air Lift was one of the first to provide push to connect air fittings in air spring kits.
Why Push To Connect?
Push to connect fittings are ideal for pneumatic systems for several reasons:
- Positive retention: tugging on the line causes the fitting to grip harder preventing leaks
- Quick to connect or disconnect: attachments and detachments can be made in a matter of seconds
- No special tools required: no crimping, soldering, or additional parts needed
- Completely reusable: can be detached without destroying the reusability of the fitting
Installing with Push To Connect
To ensure proper performance, quality and dependability of push to connect fittings, be sure to install the air line correctly:
- Cut the air line with a hose cutting tool. This will ensure a clean square cut without deforming the air line. Angular cuts, flattened or out of round air line is a major cause of leaks at the fitting.
- With the fitting secured in the air spring (finger tight plus two turns), push the air line into the fitting while applying a slight turning motion. As with most things, a little lubrication (soapy water solution) on the air line will reduce the effort required. You will hear/feel a definite “click” as the air line seats past the O-ring against the tube stop.
- These fittings are completely reusable with no special parts or tools required. To disconnect the air line from the fitting, simply push the air line into the fitting, pull the collar against the body of the fitting and pull the line straight out.
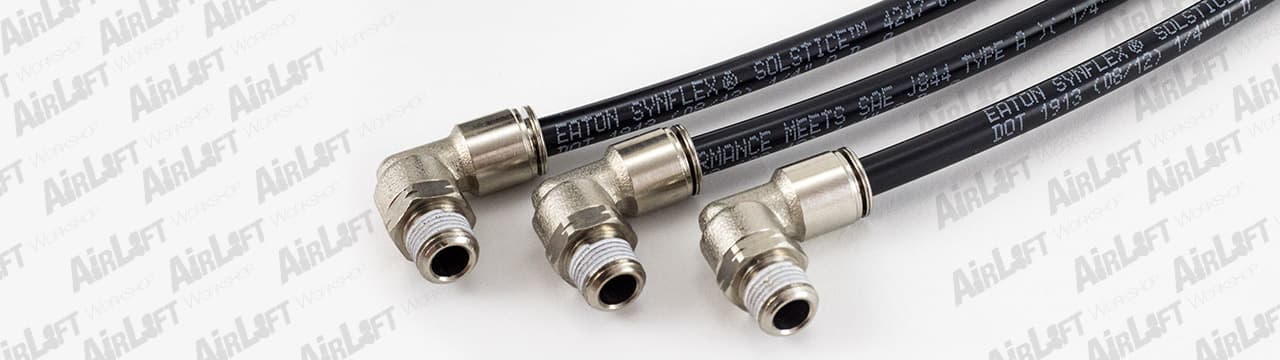
- Finally, keep in mind that the insertion depth to seat the air line will vary depending on the material and size of the fitting. You will typically find a combination of brass and black nylon bodied fittings in air lift air spring kits. Remember it is the “click” that tells you the line is seated and sealed.